
This Beast of Reincarnation guide is not about finding the strongest weapon or rushing toward a perfect build. It is about understanding the systems that made the game finally click for me to help you on your journey.
We have been waiting for the game to come out for a while. When I, however, started Beast of Reincarnation, I kept waiting for the game to simplify itself. Instead, every few hours introduced another mechanic. Emma unlocked new Hair abilities, Koo revealed an entire progression tree, a companion named Kagura began cooking meals that improved the party, and the Cleansing Walker, the game’s mobile headquarters, kept opening new stations and upgrades. Exploration added manuals, research projects, campsites, Dragon Vein Shrines, and equipment systems on top of everything else. Rather than making the game feel larger, all of that initially made it feel busier.
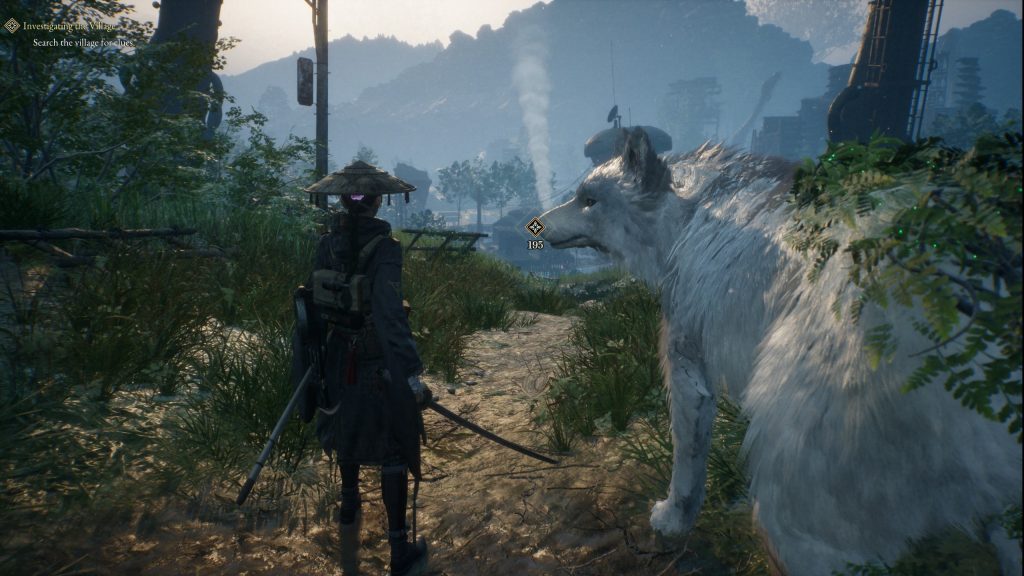
Looking back, I do not think the game was trying to overwhelm me. The problem was that I treated every mechanic as though it existed by itself. Once I started seeing how combat, exploration, companions, and progression fed into one another, Beast of Reincarnation became a different experience. These are the eight things I wish someone had explained to me better before I began.
1. Beast of Reincarnation Combat Operates at Three Speeds
The biggest breakthrough I had was realizing that combat is not built around one rhythm. Most encounters begin as fast, real-time action where Emma chains sword attacks, launches enemies, uses her Hair abilities, fires projectiles, and looks for opportunities to parry. That part feels familiar enough, but it is only the foundation.
Entanglement Overdrive creates the second tempo. Once you build enough gauge, enemies slow dramatically while Emma continues moving at nearly full speed. That gives you time to reposition or unload a full combo before an enemy finishes an attack. Koo’s abilities create the third tempo by nearly stopping the action while you select a specific move and complete a quick-time event to maximize its effect.
Combat continually moves between full-speed action, enemy-slowing Overdrive, and Koo’s almost turn-based tactical commands. Once I understood those were not separate mechanics, fights stopped feeling crowded and started feeling coordinated. That mental shift is the most important lesson in this Beast of Reincarnation beginner guide.
2. Dodge for Distance, but Parry to Control the Fight
Coming from games like Black Myth: Wukong and Monster Hunter, I instinctively treated dodging as my primary defense. That did not work nearly as well here. Emma’s dodge covers a surprising amount of ground, but I have not noticed the same dependable invincibility window I expected from those games. Some enemy attacks are wide enough to catch you even after you have created what appears to be plenty of distance.
The dodge makes more sense as a repositioning step. It helps you create room, escape pressure, or reset your angle, but parrying is what drives the combat system forward. Successful parries build the Entanglement Gauge, activate a sword’s inherent effect, create counterattack opportunities, and help feed Koo’s role in battle.
Once I stopped trying to dodge through every attack and began treating parries as the center of combat, the entire system became more satisfying. The simple rule is to use the dodge to create space and the parry to take control.
3. Learn the Basic Combo Before Chasing Every Skill
Emma’s early sword combo is simple: press Right Bumper (or RB) four times on the controller to chain four attacks together. It may not look important once the skill tree begins blooming with new techniques, but that basic rhythm remains the foundation for many of the combinations you unlock later.
New skills expand the combat language rather than replacing it. Biting Tempest, for example, builds from four airborne follow-up attacks before finishing with RB. Other techniques add new finishers, Hair attacks, projectiles, and movement options. I found it much easier to use those abilities once I stopped treating them as isolated inputs and started attaching them to patterns I already understood.
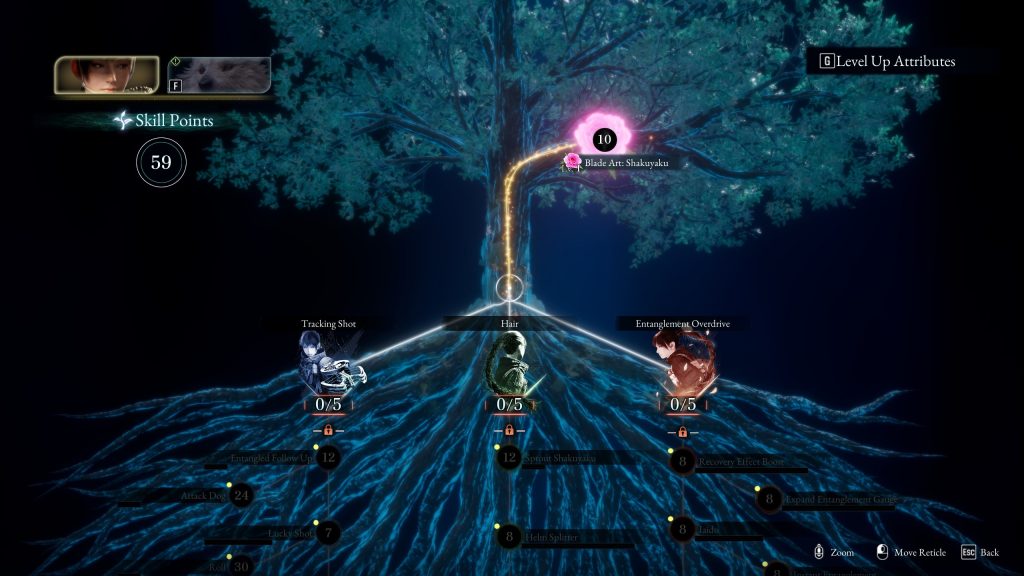
Unlocking a skill is only the first step. Spend a few minutes practicing each new combo before moving on, or it may become another impressive flower on the skill tree that you never actually use.
4. Koo Is Half of the Combat System
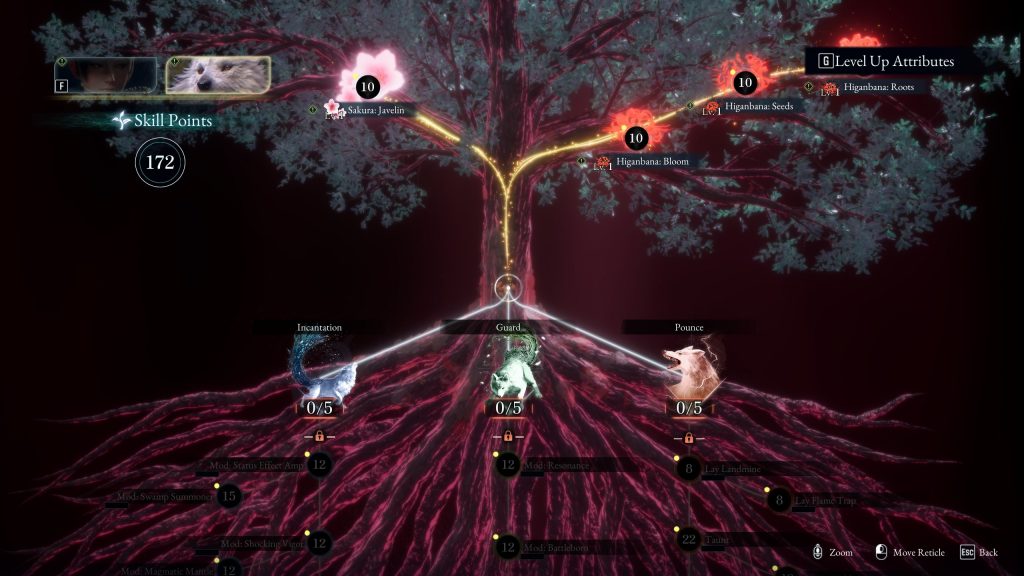
I spent far too long treating Koo as an AI companion who occasionally attacked whatever I was fighting. Then I opened his progression menus and discovered that I had accumulated a ridiculous number of unspent Skill Points. I had not neglected a small support system. I had practically ignored an entire second character.
Koo has his own attributes, Fire Skills, equipment, item research, skill research, and Rapport progression. His abilities can damage enemies, protect Emma, create openings, restore resources, and give Emma new ways to close distance. Building Rapport by interacting with him can also improve his capabilities.
Check Koo whenever you return to the Cleansing Walker, spend his points, assign new research after a project finishes, and make sure his equipped skills match the role you want him to play. The combat becomes noticeably richer once you begin treating Emma and Koo as a coordinated pair rather than a protagonist with a helpful pet.
5. Use the Cleansing Walker in Beast of Reincarnation as Your Preparation Loop
The Cleansing Walker, a large bipedal base, initially looks like a large mobile save point, but it gradually becomes the heart of the game. It is where Emma and Koo improve their attributes, where equipment gets enhanced, where Kagura researches recipes and prepares meals, and where Koo develops new items and skills. It is also where the group talks, rests, cleans up after combat, and prepares for the next departure.
Once I settled into a routine, the game’s many systems felt far less scattered. I would check Koo’s research, build Rapport, speak with Kagura, review the Grow Chamber, spend points, upgrade equipment, eat, and then rest before leaving.
Returning to the Walker stopped feeling like an interruption because it was not where the adventure paused. It was where the next expedition began. Treating it that way also makes the game’s progression easier to manage.
6. Eat Before Resting and Watch the Hunger Gauge
Hunger is easy to overlook because the game does not constantly wave it in your face. A small circular indicator on the HUD tracks it, and I played for quite a while before realizing what it represented. Meals prepared by Kagura support both Emma and Koo, while field rations in the Battle Pack let you eat during longer trips away from the Walker.
Before resting and preparing to depart, check the available meals instead of automatically skipping food. New recipes, ingredients, Kagura’s cooking development, and the Grow Chamber all feed into this system. You do not need to obsess over hunger, but ignoring it means overlooking one of the game’s quieter preparation mechanics.
It is a light survival system rather than a full-time chore, and it works best when folded into your normal routine.
7. Follow Your Curiosity Beyond the Spirit Path
The Spirit Path is useful because it keeps the objective clear without forcing you to stare at a minimap. The problem is that following it too faithfully can lead you past some of the game’s most valuable discoveries. Side paths have repeatedly rewarded me with manuals, weapons, Iron Boxes, campsites, recipes, crafting materials, decorations, and Dragon Vein Shrines.
Manuals are especially important because they can unlock new things for Kagura or Koo to research and create, including meals, Recovery Tonics, Acid Arrows, and other useful items. Campsites expand the fast-travel network, while Dragon Vein Shrines contribute toward the Stimpack-related progression shown when the system is introduced.
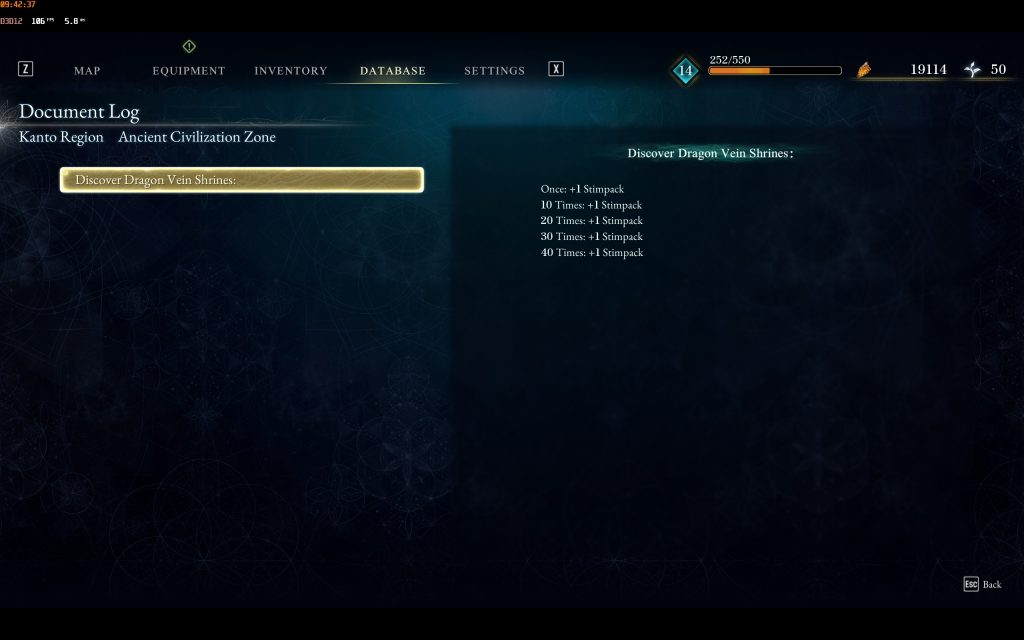
The exact shrine milestones unfold as more are discovered, but the practical advice is simple: activate every Dragon Vein Shrine and campsite you find, and investigate any route that looks deliberately placed away from the main objective.
8. Give the Beast of Reincarnation Time to Reveal How Everything Connects
During the opening hours, I kept thinking Beast of Reincarnation had too many ideas. Combat had several speeds, both characters had progression systems, the Walker contained a small village of menus, and exploration kept introducing mechanics I did not yet understand. The game never became simpler, but it did become clearer.
That distinction matters. Combat improved because I understood when to parry, when to create distance, when to activate Overdrive, and when to call on Koo. Exploration improved because manuals and side paths expanded my options instead of merely filling my inventory. Returning to the Walker became meaningful because cooking, Rapport, research, equipment, and farming all prepared me for what came next.
The game rewards patience, not because players should tolerate a weak opening, but because its strongest ideas only fully emerge once they begin working together.
Closing Remarks
The most useful thing I can tell a new player is not where to find a particular weapon or which attribute to increase first. It is that Beast of Reincarnation gradually teaches an interconnected rhythm. Its combat, companions, exploration, and progression systems can initially feel like separate demands, but they eventually begin reinforcing one another.
Once that happened, I stopped fighting the game’s structure and started enjoying what it was building. Hopefully this Beast of Reincarnation guide helps you reach that point sooner.
Check out my Beast of Reincarnation Review here when it goes live!
