
Everything you’ll need to know about base building in Grounded
Building a base in Grounded can be a little daunting, so a good guide can go a long way. It’s not always an easy-going time in the backyard! The survival genre can be a menace to new players and experienced players alike. Though unlike most survival games, Grounded takes the cake of always making sure to keep you on your toes. The dangers in the backyard are ferocious and can sneak up on you unexpectedly. So why not give yourself a solid foundation to build your base on and make it the best it can be?
In this article, we will go over building materials, objects, how they interact, and the best way to start. If you have played survival games that have structure building as apart of the gameplay, you will find a lot of similarities. Construction is a beneficial aspect of Grounded. Finding familiarity in controls allows for a more comfortable and more enjoyable experience.
Disclaimer: The building materials and objects sections will be updated as new objects and materials are added to the game. Check back monthly for updates!
Building Materials
- Grass Planks – Used for a large portion of the items used in construction.
- Weed Stems – A tough, spare material that can be obtained from dandelions and weed stems.
- Woven Fiber – Crafted from x3 plant fiber that can be found on the ground, or obtained from grass stems.
- Clover Leafs – Used primarily for roofing.
- Sprigs – A minor construction material.
- Clay – Necessary for providing Clay Foundations. A solid flooring that will help keep critters out!
Building Objects
- Door – “Opens and closes” – x1 Weed Stem, x3 Grass Plank, x1 Sprig, x2 Woven Fiber
- Sturdy Door – “A Stronger door built entirely from logs” – x3 Weed Stem, x4 Woven Fiber, x2 Sprig
- Floor – “A solid floor. Can also be used as a ceiling” – x4 Grass Plank
- Triangle Floor – “A triangular floor” – x2 Grass Plank
- Wall – “A solid wall that can keep insects outside. Like all buildings, it can be damaged by attacks.” – x4 Grass Plank
- Sturdy Wall – “A grass plank wall reinforced with crosspieces from weeds” – x4 Grass Plank, x1 Weed Stem
- Stem Wall – “Sturdy rustic walls” – x3 Weed Stem
- Triangle Wall – “A triangular wall” – x2 Grass Plank
- Palisade – “A strong ground-level exterior defensive wall” – x2 Woven Fiber, x8 Weed Stem
- Roof Corner – “A corner roof thatched with clover leaves” – x1 Weed Stem, x4 Clover Leaf
- Palisade Gate – “A very strong door for exterior palisades” – x4 Woven Fiber, x4 Weed Stem
- Roof – ” A roof thatched with clover leaves” – x1 Weed Stem, x4 Clover Leaf
- Roof Interior Corner – “An interior corner roof thatched with clover leaves” – x1 Weed Stem, x4 Clover Leaf
- Scaffold – “A sturdy structure made from weed stem logs” – x2 Weed Stem
- Windowed Sturdy Wall – The windowed variant of the sturdy wall” – x3 Grass Plank, x2 Weed Stem
- Triangle Scaffold – “A sturdy structure made from weed stem logs” – x1 Weed Stem
- Stairs – “Vertical traversal wherever it’s needed” – x4 Grass Plank, x1 Weed Stem
- Windowed Stem Wall – “A windowed variant of the stem wall” – x2 Weed Stem
- Windowed Wall – “The windowed variant of the basic wall” – x1 Weed Stem, x3 Grass Plank
Construction Begins!
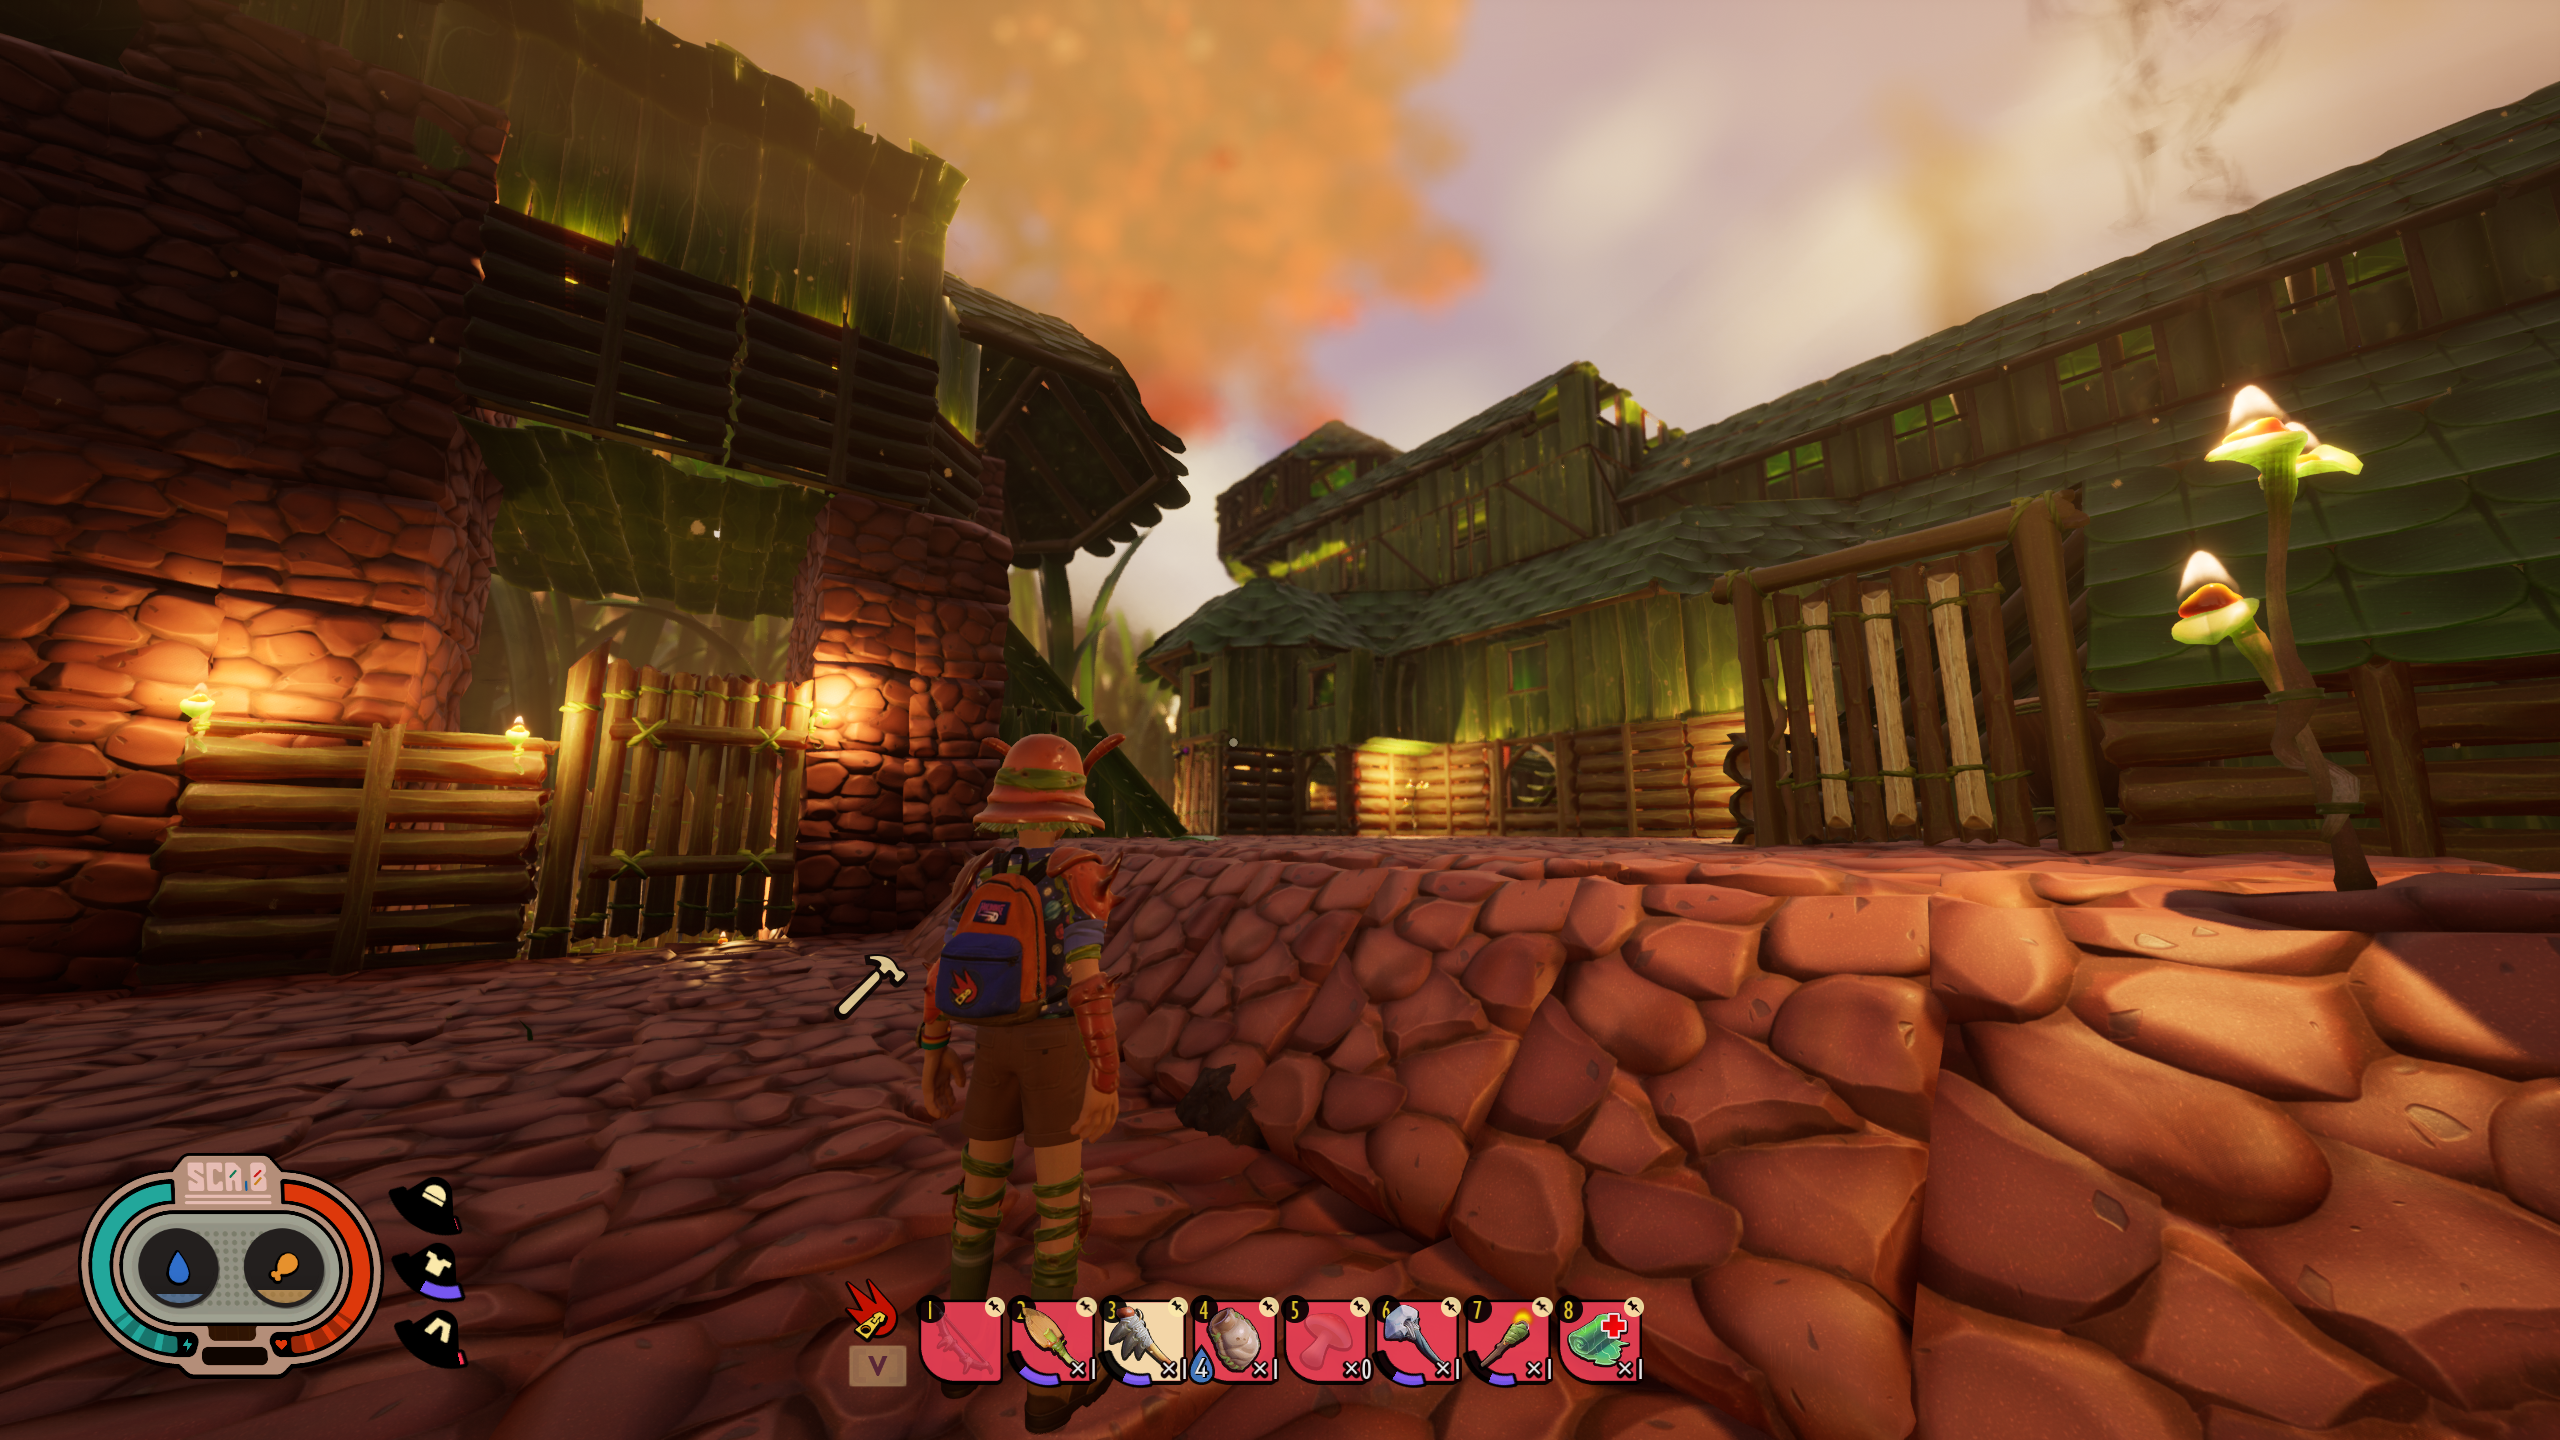
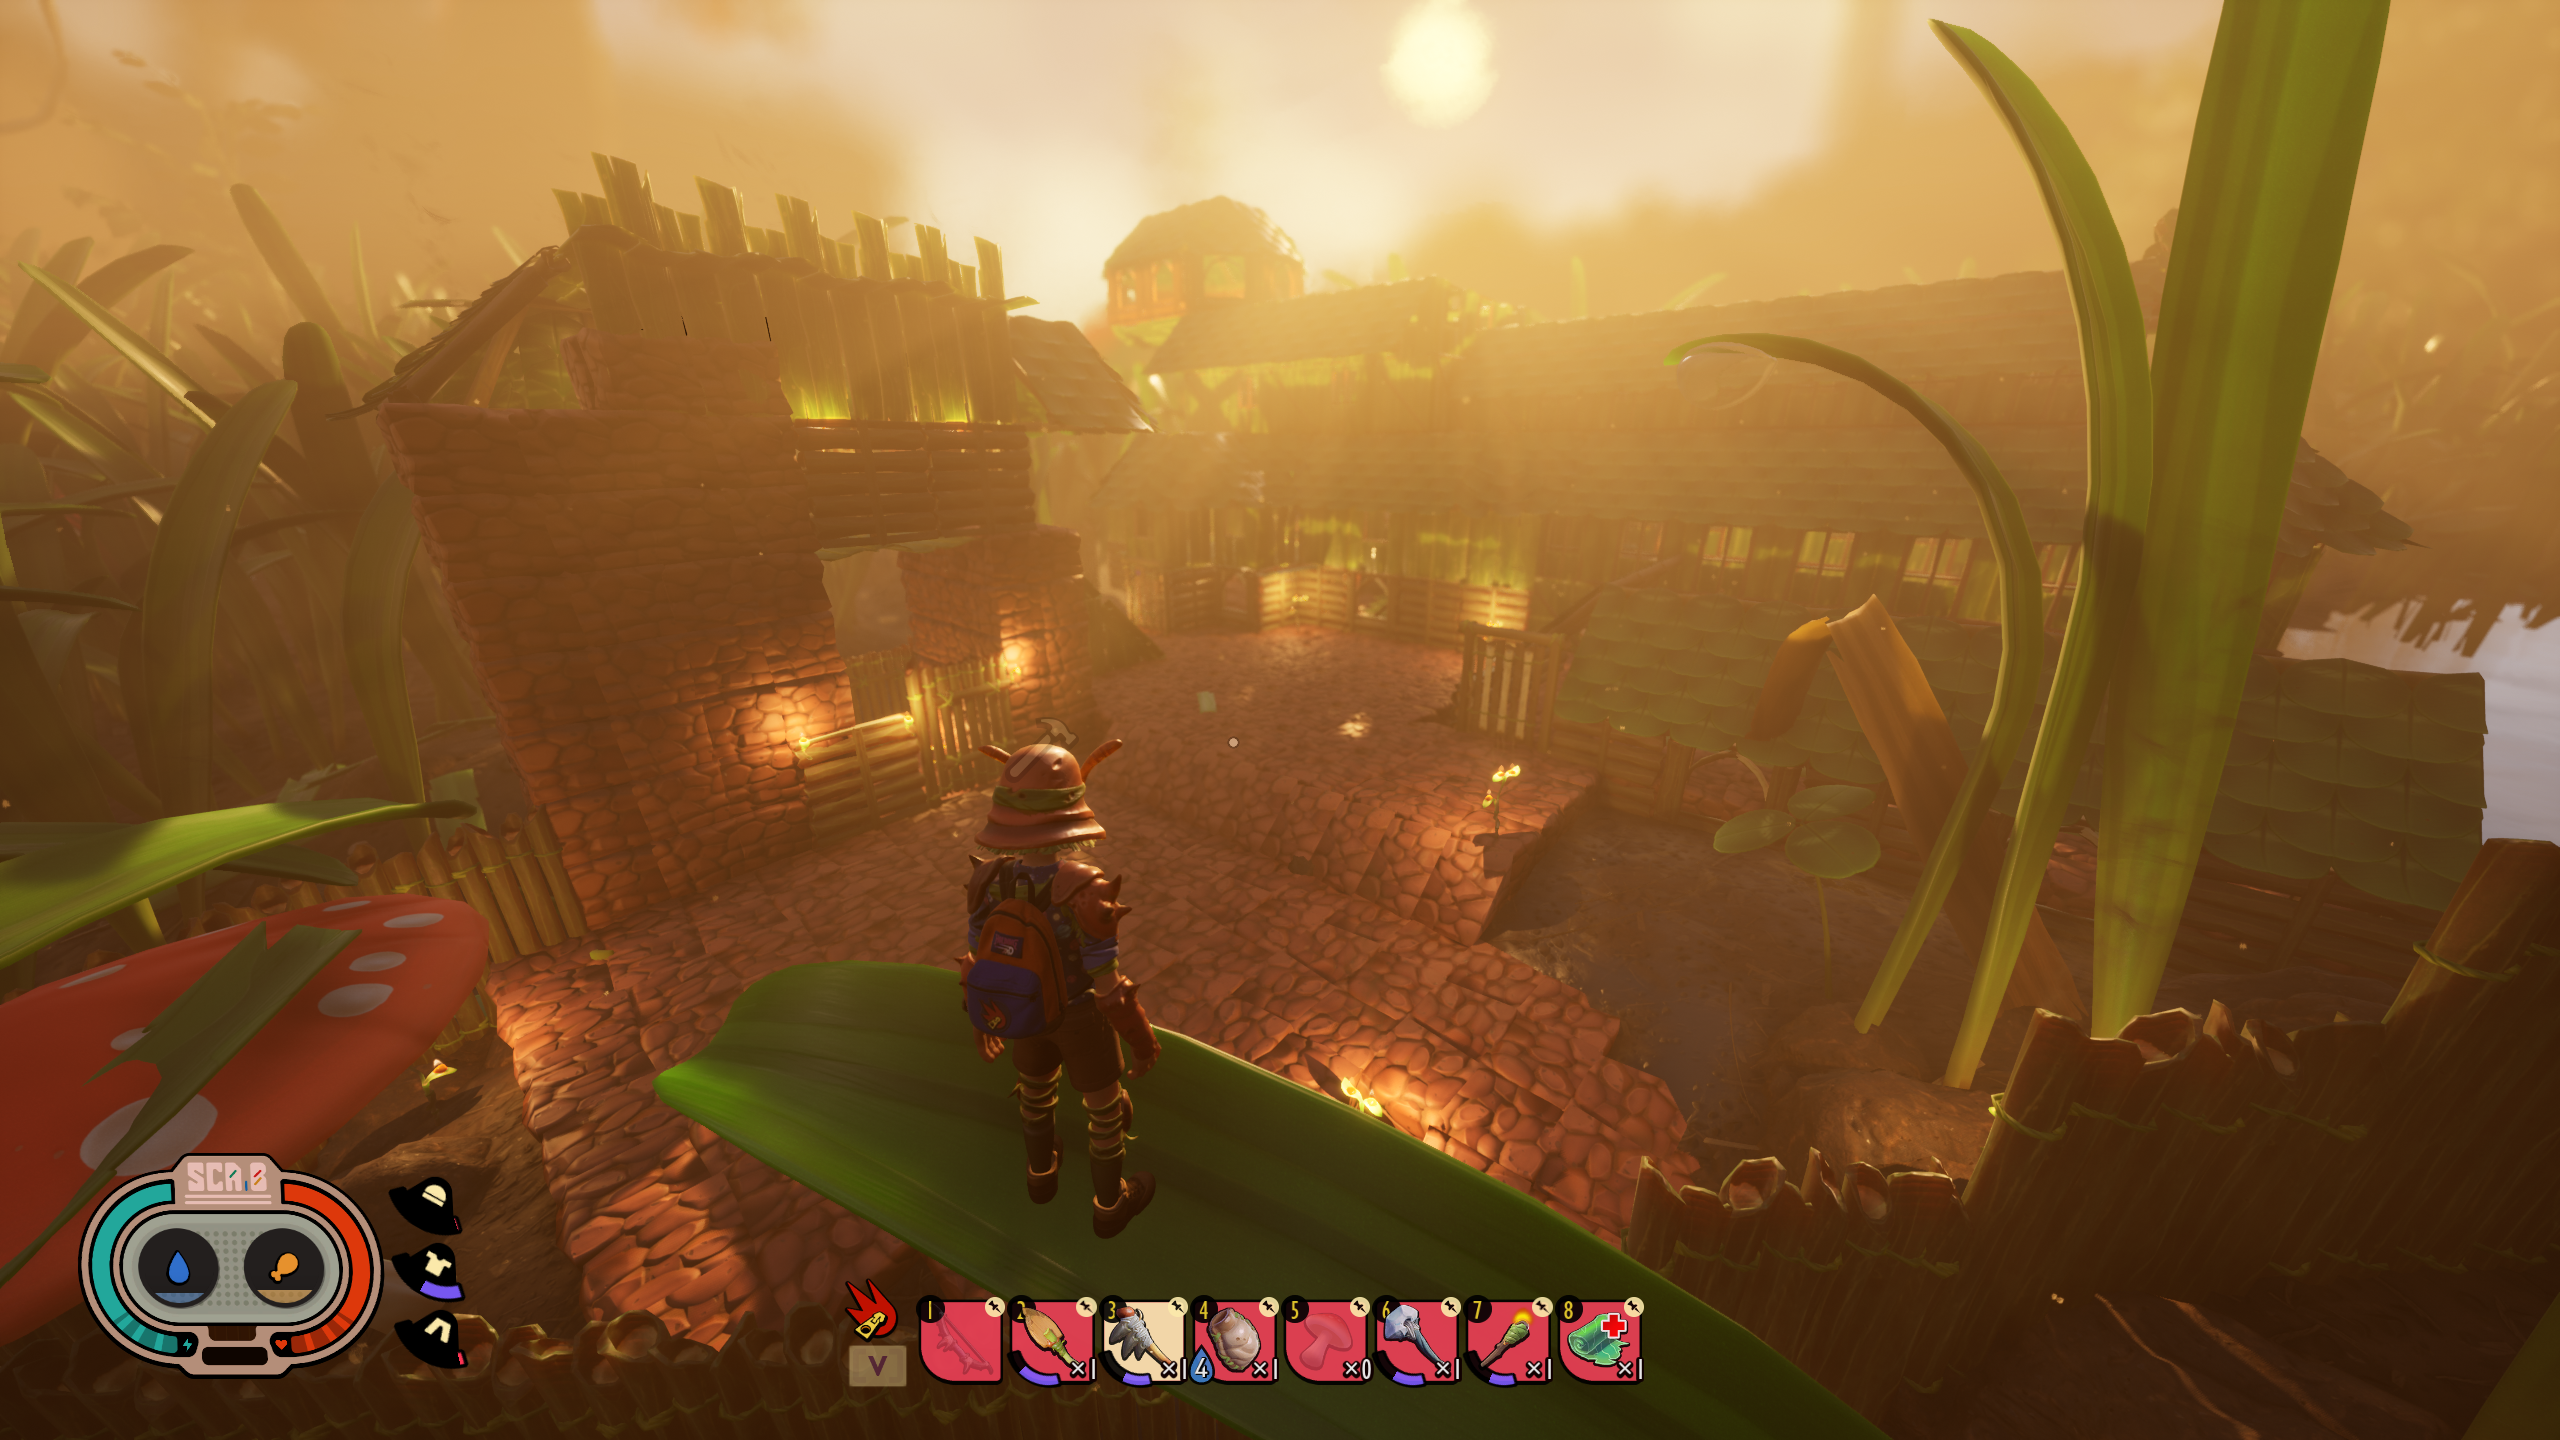
The most important thing you probably want to do is find a suitable and safe location. An area that will let you build your base somewhat peacefully and have a decent amount of resources available nearby. Honestly, these locations are very, very few, and can be quite far from the original spawn point. For those that are experienced in these types of games, it’s simple enough to run amok and find a far off location.
For those new to survival, sticking close to the origin point is the most logical solution. Build a temporary shelter that you can either expand on or be willing to take down and move to a different location. Once you’ve found a suitable site for your base, drop a trail marker to know where it is at all times. You can easily get lost in Grounded. Here is a basic home layout that you can build in a short manner of time!
Read More: Upcoming content update teased for Grounded
The first thing you want to do is gather some clay. You can have a mock shelter in the meantime, but focusing on making a long term base is just as important. To find the best way to obtain clay, we have a guide made up just for you! Please refer to the bottom of this guide to a link on how to get clay floors.
Once you’ve got about 36 pieces of clay, it’s time to start the foundation. When building, you have to keep in mind everything works in a grid pattern. The basic foundation size you should aim for is a simple 3×3 square. Going into a little more detail, with a 3×3 square, that means there are a total of 9 clay foundations put together to create a single large slab.
Building Foundations

A large, open area was used for demonstration purposes. You do not have to build near the pond by the oak tree. It’s quite dangerous.

The red lines indicate where each section of a clay foundation is used. A 3×3 grid that requires x4 clay per square.

It’s time to build four walls and a door for your base to keep those pesky bugs out! There are some basics you should know first before you get started.
Building Walls
Walls can be turned 360 degrees, but are limited to only a few directions. Here is a diagram I constructed to help visualize precisely the locations they rotate. Please excuse my poor 3D Paint skills!


As mentioned earlier, all the construction in Grounded relies on a grid system for object placement. If you are unsure if you are linking each section correctly, look for white dots on the corners of the object you are placing. The front of the wall will always have a purple arrow, indicating which side is the front and back.


When placing objects, they are not designed to line up exactly edge to edge as a default. Usually, you can click and go! In Grounded, you can still do the same thing, but the objects can be placed at every half segment. One full segment is the length of one block, or from between the black line to the first red line. Just remember that if you want to line up things evenly, watch for the white orbs on the corners of the object you are placing. There is a big reason why object placement works like this, though, I’ll explain shortly.

Building A Second Level
Building a second level in your base is a relatively easy aspect. All you need to do is add a set of stairs that allows enough room for you to walk up and down comfortably. However, it’s how you continue building on the second level that matters. This is where we are going to start getting a little creative in this guide.


Rounded in Grounded
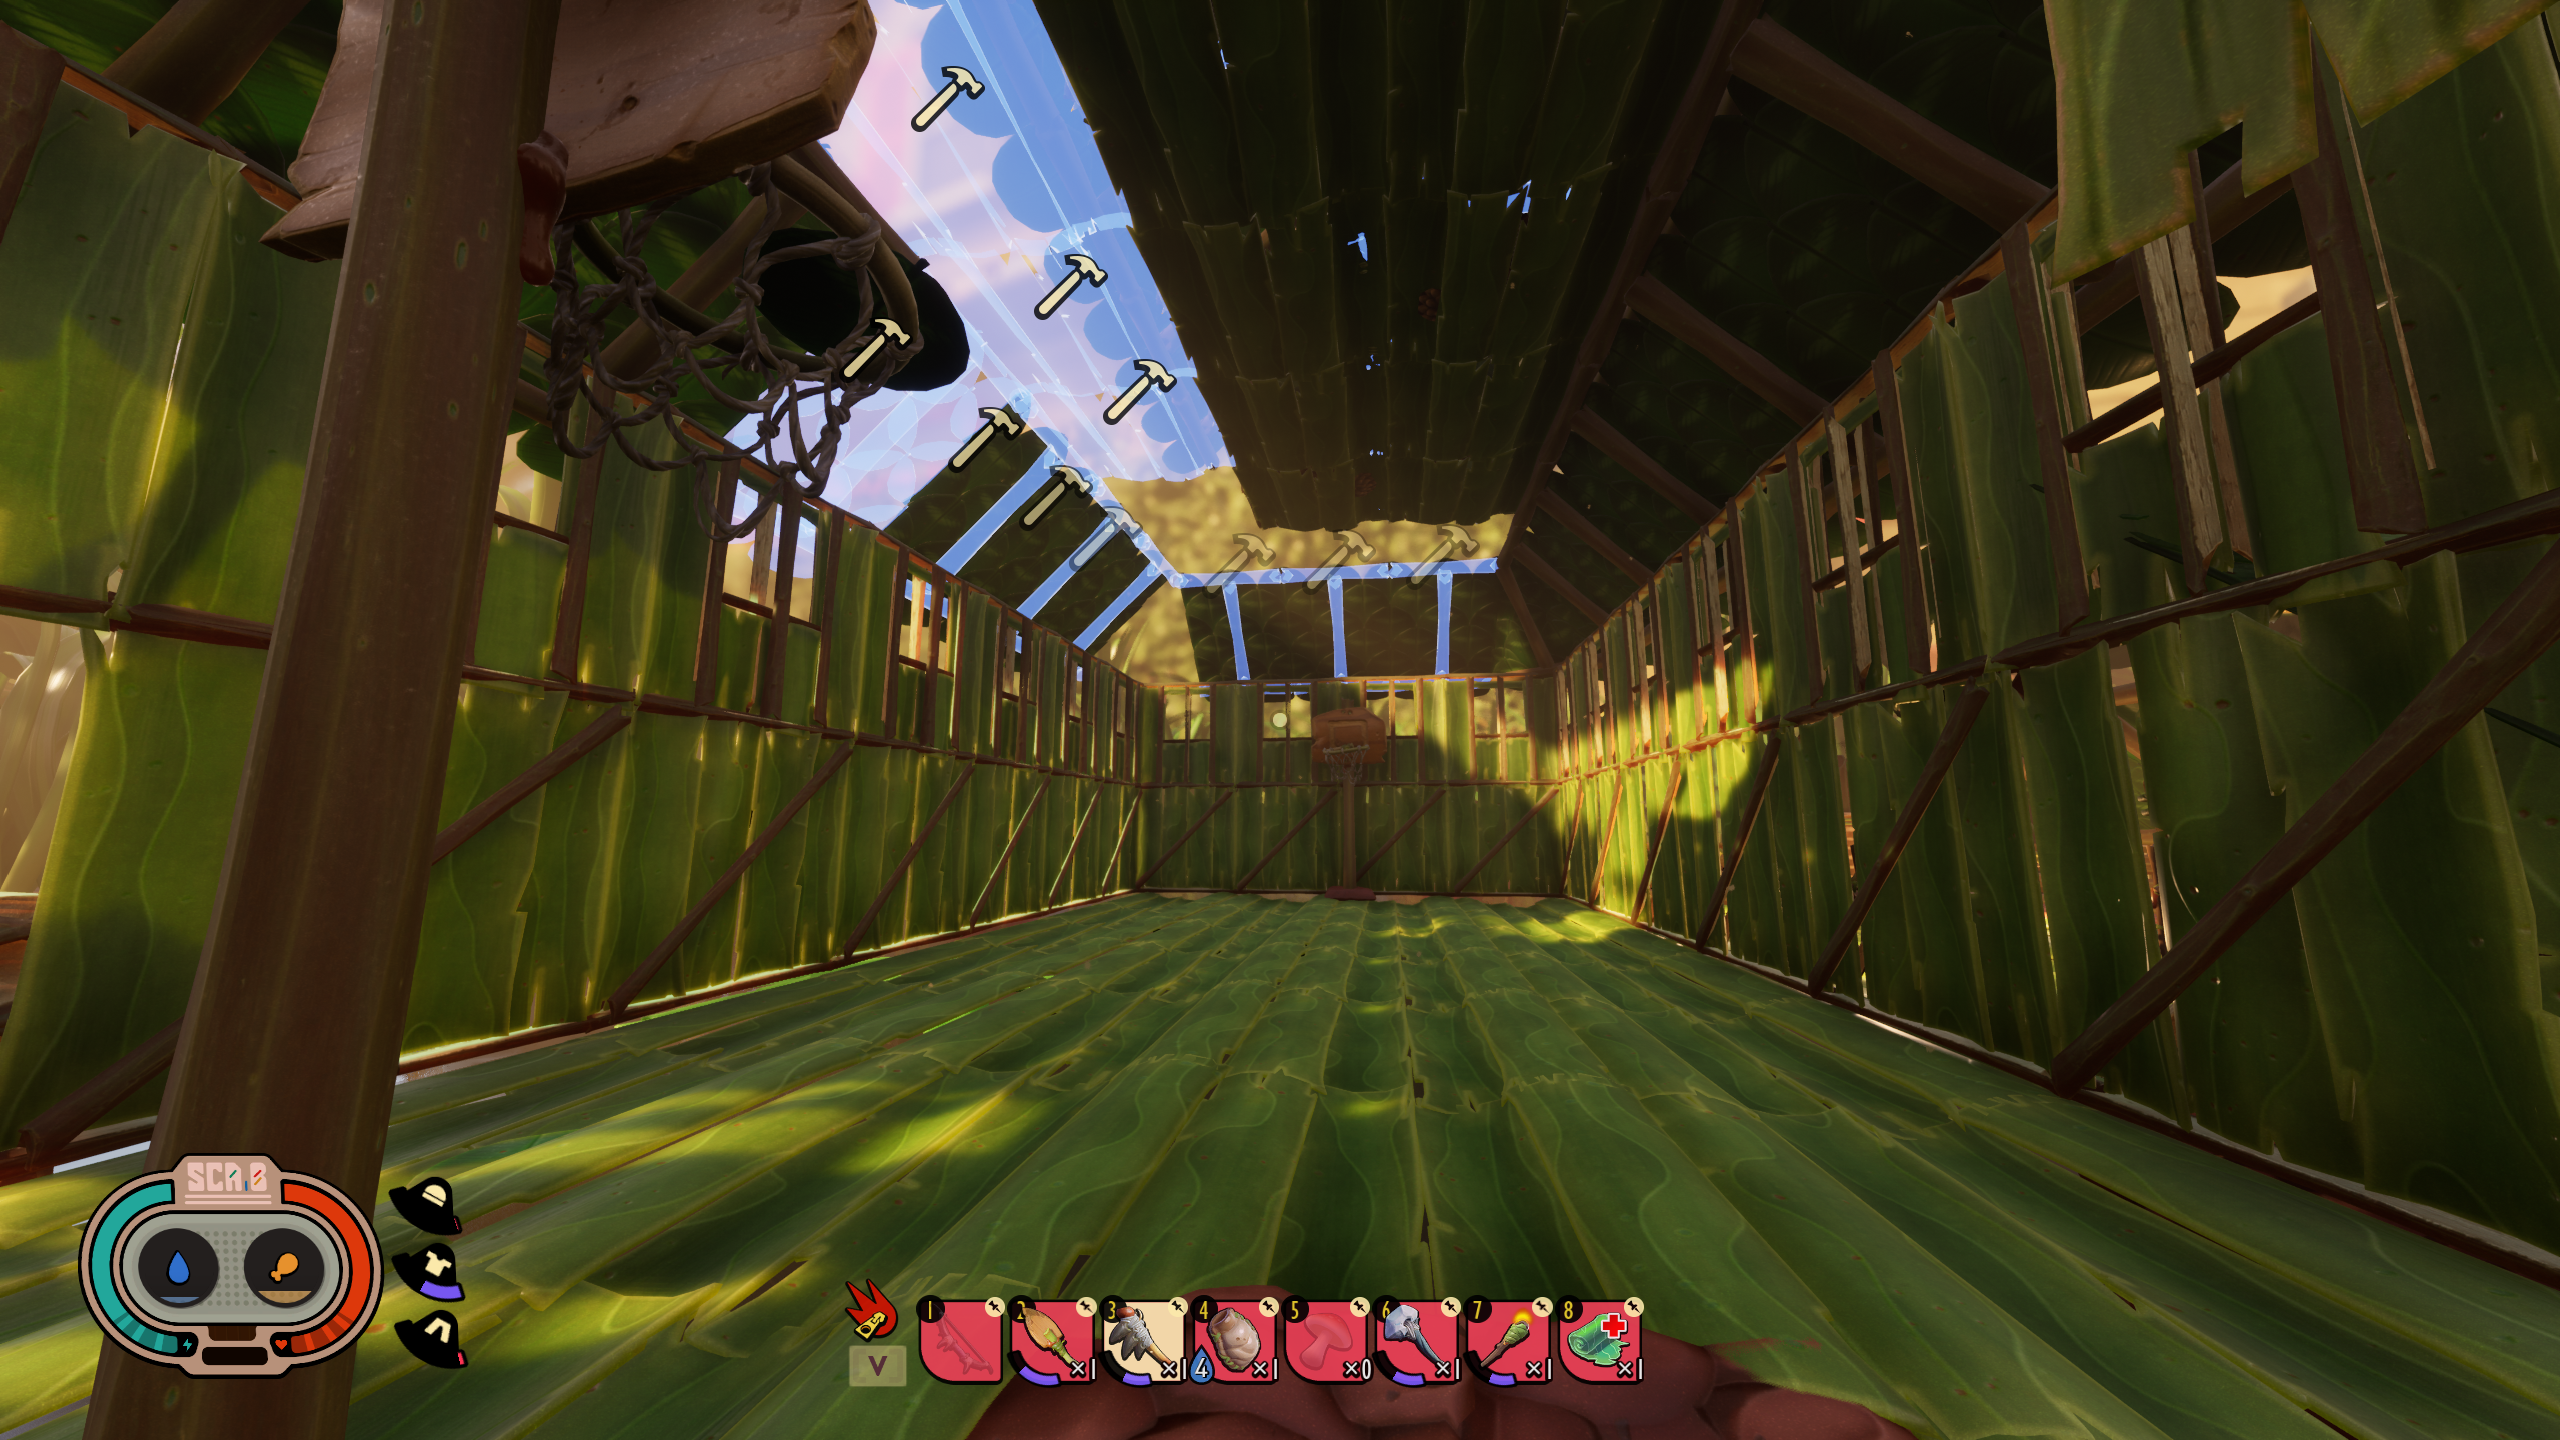
The second level can be built from wherever you can reach it. I go for either the above point of view or stay on the ground. Whichever is most comfortable for you and where you are at the time. At this point, you already have basic shelter, but why stop there? Let’s add a rounded second level with a roof! Creating a rounded room in Grounded is quite easy. Just make sure to watch for the angle of the wall.


While you are building a rounded area, make sure to pay attention to the direction of the wall. Use the purple arrow to know where the wall orientation is, and it is the correct way, as well as that you are snapping a full segment. Half segments will make it look odd, so do your best to avoid it where possible. Once that is done, we will have something that looks like this below.
Are those supposed to be there..?
I already know the first thing that has popped into your head after looking at this picture. “Why are the grass wall tops not cut off and neat looking?” I’m not sure if this is intentional by design or a minor issue that hasn’t been addressed yet. When putting down a floor section in line with the top of a wall section, whether it be windowed or not, the top should always cut off and look neat. Now, it would be understandable if this is by design, considering the environmental setting Grounded is in. Makes the base look kinda like a castle too!
Let’s move on to the final touches to our base and add a roof! There are two sections you should familiarize yourself with, which are the basic roof section and the corner roof section.


Adding a roof
Once You have all four sides completed with the roof sections, it’s time to add the corner sections. There are two types of corner sections to use: indoor corner roofs, and corner roofs. In the pictures below, regular roof corners are being used and not indoor roof corners.


When the four corners are filled in, it’s time to cap it off with a simple flooring section, and the base is complete!

Congratulations, You’ve learned the essentials on building in Grounded! Everything detailed previously will allow you to create some incredible bases! Some homes can be much more complicated than what we just went over. From here on out, nothing is stopping you from building something wonderous other than time and a little imagination!
I want to know more about how to use clay!
The clay foundations in Grounded is an interesting structural object. It is only meant for the lowest floor of a building, providing an even and strong surface. Clay foundations are not necessarily meant to be used for multiple floors. There is a trick, though. You can stack them, and all thanks to the blueprint capabilities in Grounded, you can create multiple floors if you want. It’s just a little more of a complicated task. If you missed it earlier, there is a guide at the bottom of this article that will show you how to get clay.
We’ve already gone over how to create clay foundations earlier in the guide, so we’re already one big step into the process of creating multiple floors. One major factor in doing this is utilizing the blueprint system. All buildings in Grounded need to have a structural base. If they don’t, they will simply collapse. So the best way to create a multi-story building with clay floors is to use pillars. At a minimum, use two, but building one in each corner and having four pillars, or more, assures the most stability from attacks.


Wrapping things up
Keep in mind you are not restricted to a single level. If you wanted, you could go much higher as long as you have enough materials and use a pillar system. There are two indicators to show that you are building multi-story clay levels correctly. One: Nothing will collapse, and Two: You will notice that underneath the clay foundations, there are what appear to be holes. This is just a simply just a visual design. You are not supposed to see the bottom of a clay foundation anyways!
Can I build over water?
Absolutely! One main thing you have to do though is start building from land first. Once you have a connecting point on the land, go wild! You can build over the top of any water surface, and even build out into the middle of nowhere, a foot off the ground! Just make sure that the connecting point is protected… that last thing you would want is for all your hard work to collapse!
Time to build!
Alright, it’s time to put those creative juices to work! Everything covered in this guide will help you create some incredible bases and structures in Grounded. Everything from a small shack to fortresses and mansions! All it takes is a little time and imagination. I hope you enjoyed this guide and found it helpful. If you are looking for more guides on Grounded, you can find them linked below. There is also a gallery of some pictures during some building escapades. I used the same building advice in this guide, creating these structures. Let your creativity run wild!
- How to get clay floor in Grounded
- The best way to get Berry Leather
- How to find Grubs
- All the armor in Grounded (So Far)
- Where to find Nectar, Pollen, and Flower Petals
- Survival Tips & Tricks
- How to get the level two hatchet


1 comment
nice guide, but outdated.