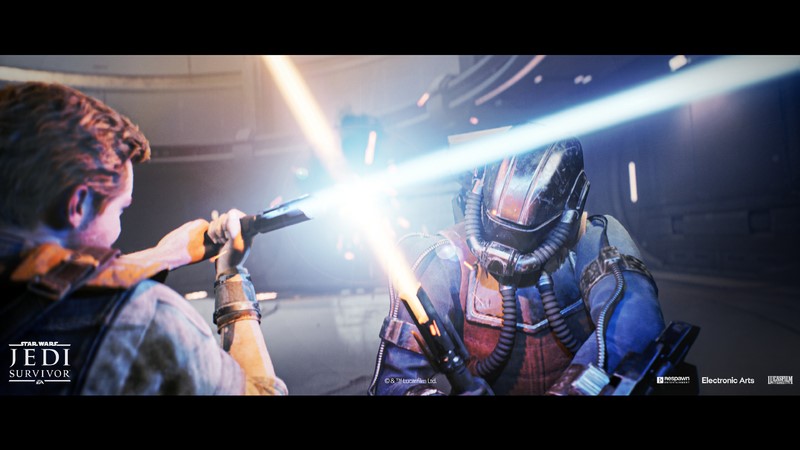
Star Wars Jedi: Survivor has packed in a number of secret boss fights. These take Cal off the beaten path, and pose an extra powerful challenge. Some might be a trap, but all force you to fight alone (even if you have an ally traveling with you). Here are some we found in our playthrough.
Writer’s Note: Spoilers throughout the game below.
Rancor

Ok this one isn’t as secret since the Rancor featured in some pre-release trailers. The Rancor can be found on Koboh, deep underground in the Sodden Grotto. Once you get there, be ready for the Rancor to swipe fast and hard. Its swipes can be parried, but it has a handful of unblockable attacks.
First, the Rancor has two traditional red moves (where the enemy glows red and uses an unblockable attack). For the first one, the Rancor grabs Cal and eats him, resulting in an instant death. The other has a wave of splash damage that goes straight out from the Rancor. You cannot block the splash damage, so get out of the way.
There’s at least one more attack which uses the splash damage attack. It’s highly deceptive because it’s not a red move, it looks similar to a blockable move, but since it uses the same type of splash damage in a much smaller radius, you can still take damage and get staggered from this move.
We have two main pieces of advice about this fight: patience and distance. Hit it from a distance when possible, identify his attacks, and close the distance when he’s open and when your Force bar is depleted.
Golden Skriton
Good news for this secret fight: you get a dress rehearsal playing through the main plot.
For those who haven’t gotten to the Skriton yet, Skriton’s are giant scorpions with bulky left pincers that act as a shield. You fight a Skriton when you reach its planet, Jedha, with Merrin.
The Golden Skriton sits close to the southern entrance to the Anchorite base, but you need to take the long way around and set up the shortcut before going that way. When you fight the Golden one, Merrin stays back and lets you fight it yourself.
This fight starts with the Skriton burrowing towards you under the sand. It spits out of the ground with a red move, swiping with its bulky pincer. Skriton’s also slam that pincer down as a red move, and side to side as blockable moves. Finally, its stinger can jab down and slash from side to side as blockable moves as well.
Left pincers dictate how the Skriton’s doing. You can hack away at that pincer and slice it off. Without the pincer, the Skriton loses multiple unblockable moves and its shield. From there, parry its other swipes and strike back when it staggers, and you’ll wrap up this fight in no time.
Spawn of Oggdo

Yup, you read that right. The three-eyed frog on Bogano got busy and the Bedlam Raiders caught the results. This one will catch you by surprise if you don’t know where you’re looking because you have to fall through a trap door to get to it.
That trap door sits on top of a platform connected to a square sided-scaffolding with droid patrols all over. You need to take the long way around the square and unlock the door blocking off the shortcut. However, if you’ve unlocked the Force Dash on Jedha, you can jump from the blocked corner to the open side and unlock the door.
Five or six droids sit directly on the trap door and can fall into the pit with you, but unless you hack them, they’ll focus on you instead of the beast.
Spawn of Oggdo follows its parent’s the same moveset. It has multiple unblockable attacks, including a tongue that hits for an instant-kill. Tongue aside, Oggdo will lean back and then shoot straight outwards. Double-jump while it leans back for the easiest way to dodge. Its jumps in various ways for its other unblockable moves. It’s nibble is the only parriable move, and comes in rapid succession (normally two in a row). The only difference between Spawn and Parent is Spawn’s noxious gas puke around the floor.
Well that’s done. Now let’s see who else you can–OH COME ON!
Fractured History Force Tear

You find this Force Tear in Doma’s shop after beating the Spawn, where you get to face it AND its parent together. Take all of the pain and tears from each fight, combine it, and let their simultaneous appearance serve as an extra layer of rage.
To be frank, save this for after completing the main story. Both beasts have the same movesets as before, and you must play it more cautiously this time. In terms of in-fight wisdom: use long range attacks (i.e. the Blaster Stance). If you invest in the Crossguard stance, you can slice through both of them with Rolling Thunder, a charged up saber throw that goes through lines of foes.
Just a Reminder: There’s More!
To be clear, this is not a fully comprehensive list. There’s at least one tag team fight we know we need to beat (The Mire Terror), and will update you all here when we know how to beat them ourselves. In the meantime, we hope your frustrations end soon.
2 comments