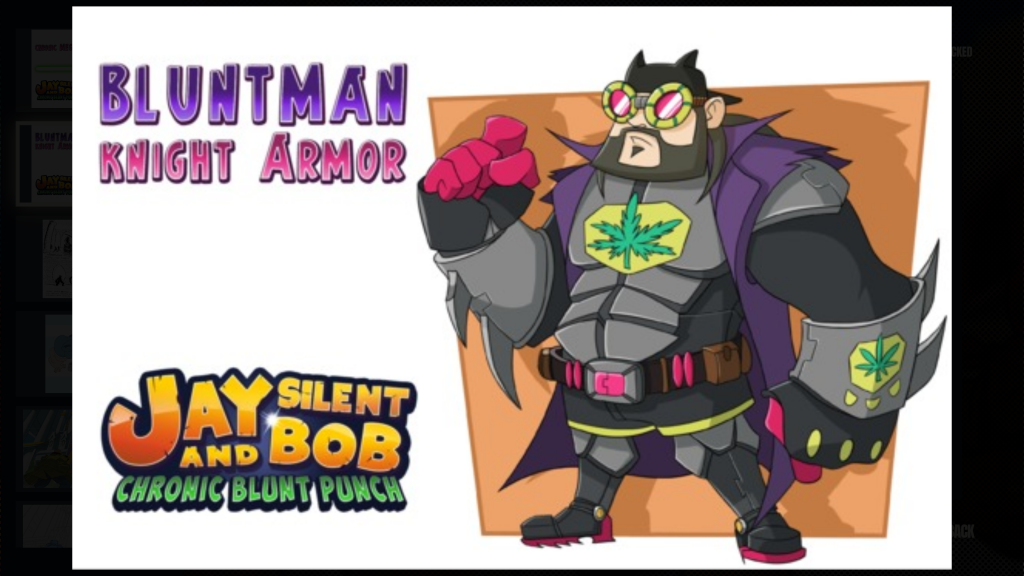
These Jay and Silent Bob: Chronic Blunt Punch beginner tips completely changed how I approached the game. If you jump into Jay and Silent Bob: Chronic Blunt Punch expecting a straightforward button masher, the combat can feel rough early on. That was absolutely my experience. The systems initially come across as chaotic, unclear, and occasionally inconsistent. The game throws move lists, assists, supers, swaps, and combo strings at you, but it never really explains how those systems are supposed to interact.
The strange thing is that the deeper I got into it, the more I realized there is actually a pretty technical combat system hiding underneath all the absurdity. Somewhere beneath the bong smashes, towel attacks, and Kevin Smith references is a game that feels strangely inspired by old-school arcade fighters. The problem is that you mostly have to figure that out yourself.
Here are the discoveries that finally made the combat click for me.
1. One of the Best Chronic Blunt Punch Tips: Use the D-Pad
One of the biggest Jay and Silent Bob: Chronic Blunt Punch beginner tips is abandoning the analog stick entirely. This ended up becoming the single biggest gameplay discovery for me.
At first, I thought switching to the D-pad was just a preference, but the more I played, the more obvious it became that the combat system heavily favors precise directional inputs. The analog stick constantly feeds slight directional movement into the game, even when you think you are standing still. That becomes a huge problem because certain combos change depending on whether you are holding a direction or standing neutral.
So instead of getting the move I wanted, I would accidentally trigger an entirely different combo because the game interpreted my slight analog lean as directional input.
Silent Bob’s Spinning Lariat was the thing that finally exposed this for me. I could barely get it to come out consistently while using the analog stick. The second I switched fully to the D-pad, it suddenly started working almost every time.
That one change completely altered how the game felt. Combat became cleaner. Movement became more intentional. Inputs stopped feeling random. Eventually, I even removed the caps from my analog sticks entirely just to stop instinctively going back to them.
2. Learn What Combos Actually Do
One of the biggest early hurdles is that the move list tells you the button strings, but not what the attacks actually function as in combat.
Some attacks launch enemies, others knock them down, and a few completely reposition both you and the enemy, depending on spacing and directional input. Once I stopped treating combos like raw commands and started treating them like tools, the combat immediately started making more sense.
That also helped explain why some combos felt inconsistent. The game appears to care about spacing, timing, directional state, and whether attacks fully connect. There were multiple times where I entered the correct combo string but still received a different attack because I was unknowingly holding a direction.
The more I experimented, the more the combat stopped feeling random and started feeling like a lightweight arcade fighter hiding inside a beat-em-up.
3. Chronic Blunt Punch Tips for Managing Assists
This was a huge late-game realization. The green assist meter does not seem to build randomly at all. It fills primarily through successful combo execution and sustained offense. Once I started consistently landing full combo strings, I realized I could fully charge assists after only a few successful sequences.
The game never clearly communicates this, which is frustrating because it completely changes how combat should be approached.
At first, I treated assists like emergency panic buttons. Eventually, I realized they are rewards for maintaining offensive momentum. The cleaner your offense becomes, the faster you gain access to assists. That also explains why random mashing feels ineffective compared to deliberate combo execution.
Once this finally clicked for me, the entire rhythm of combat changed.
4. Running Attacks Became My Panic Buttons
Ironically, some of the moves I relied on most were not even traditional combo strings. They were the Running Heavy attacks for both characters, and by the late game, they had basically become essential parts of my survival strategy whenever fights started getting overwhelming.
Jay’s Best Emergency Tool
For Jay, performing a running heavy attack turns into a forward-moving dragon punch-style uppercut that feels incredibly useful once encounters become chaotic. The move seems to contain at least some invincibility frames during portions of the animation. That made it one of my favorite panic options whenever the screen became too crowded. Instead of trying to block or slowly reposition, I could aggressively burst through pressure and immediately regain momentum.
At the same time, Jay’s Combo 4, Hurricane Kick, became one of my most-used combo strings in the game. The move flows naturally out of pressure, keeps momentum going, and feels heavily inspired by classic arcade-fighter spinning kick attacks. Once I started understanding spacing and movement better, I found myself constantly relying on it during larger encounters because it helped control space while still staying aggressive.
Why Spinning Lariat Became Essential
Silent Bob’s equivalent running attack became just as important for me. His running heavy behaves almost like a Blanca-style barrel roll, launching him forward while disrupting enemy spacing and creating breathing room almost instantly.
On top of that, Bob’s Spinning Lariat ended up becoming one of my favorite combos overall because of how reliably it connected against groups of enemies. Out of all his attacks, it consistently felt like the move that generated the most hits and maintained the strongest crowd pressure once fights started becoming chaotic.
The deeper I got into the game, the more these attacks stopped feeling like situational tools and started feeling like core parts of the combat system. Whenever encounters began spiraling out of control, I found myself naturally defaulting back to them because they solved multiple problems at once. They repositioned me, interrupted pressure, created space, and gave me a safer way to recover control of fights without simply turtling behind a block.
By the late game, these honestly became some of the most important attacks in my entire moveset.
5. Character Swap Tips in Chronic Blunt Punch
Character swapping took me a while to understand because the game never fully explains how positioning affects it.
Your inactive teammate generally needs to be relatively close and lined up behind you before the handoff consistently works. Sometimes the game naturally places them correctly. Other times it absolutely does not, and you need to manually reposition yourself before attempting the switch.
At first, I thought the mechanic itself was inconsistent. Eventually, I realized the game was actually checking positioning.
There also appears to be a very small invincibility window during swaps. I have not fully mastered abusing it intentionally yet, but I definitely noticed attacks occasionally passing through me during handoffs. That means switching characters can potentially function as a defensive tool and not just a health-management mechanic.
6. Tag Out Before You Die
If you let a character die while carrying assists, supers, or built-up momentum, you appear to lose much of that stored progress. That makes preemptively swapping characters extremely important.
Interestingly, dying also has a strange tradeoff. Once combat ends, the defeated character eventually revives with partial health. So there are moments where sacrificing a character is not completely catastrophic. Still, in most situations, preserving your assists and offensive momentum is far more valuable than squeezing out a few extra hits before getting knocked out.
The game quietly rewards players who manage resources well.
7. Treat Destructible Objects Like Stored Recovery Items
One easy mistake is smashing every destructible object immediately. Do not do that.
Some breakables contain health recovery, energy, or useful resources, and once certain encounters begin, you may not be able to return to grab them later. That creates an important decision every time you enter a new area. Do you spend the resource immediately, or do you save it for after the fight when you actually need it?
A lot of the time, it is smarter to leave those items untouched until combat is over. Thinking of them as “stored recovery” completely changed how I approached tougher levels.
8. Enemy Spawns May Quietly Scale Based on Your Health
Late in the game, I started noticing that certain encounters seemed to change depending on how healthy my team was while progressing through levels.
In one section involving moving hazard carts, stronger reinforcements consistently appeared when my health was high, but sometimes failed to appear when both characters were low.
If intentional, this suggests the game quietly adjusts encounter pressure behind the scenes depending on player condition. That is actually a pretty smart balancing system for a beat-em-up, especially during longer levels where a bad run could otherwise spiral out of control.
The deeper I got into the game, the more systems like this I started noticing underneath the surface.
9. The Recent Patch Completely Changed the Game
A recent update dramatically improved the experience for me.
Before the patch, I had been stuck on one of the later levels for over a week. It featured a brutal multi-stage boss encounter, and the combat often felt sluggish and difficult to control.
After the patch, movement became snappier, combos became more reliable, and combat flow improved significantly. On my very first run after updating, I cleared the level that had completely stalled my progress beforehand.
The game now feels much closer to the experience the combat system always seemed designed around.
That said, the patch still appears to have introduced a few strange issues, although they may be platform-specific. On my current setup, parts of the end-stage stat screen occasionally appear obstructed, and at one point, a secret level seemed inaccessible after the update. Interestingly, I have since confirmed that this issue does not appear to occur on Xbox, which suggests the problem may be isolated to certain versions of the game rather than the patch universally breaking progression.
Even with those oddities, though, the overall experience feels substantially better post-patch.
Closing Remarks
The strangest thing about Jay and Silent Bob: Chronic Blunt Punch is that the deeper you go, the more systems you realize are hiding underneath the surface.
At first, the combat can feel sloppy or random. But once you begin understanding directional precision, combo structure, assist generation, movement spacing, and resource management, the game starts revealing a surprisingly technical layer beneath the chaos.
The problem is that the game expects players to discover almost all of this themselves.
Hopefully, this guide saves you some of the confusion I had while figuring it all out.
You can buy it for Xbox here. It’s a Play Anywhere title, so you get access to the PC version.